
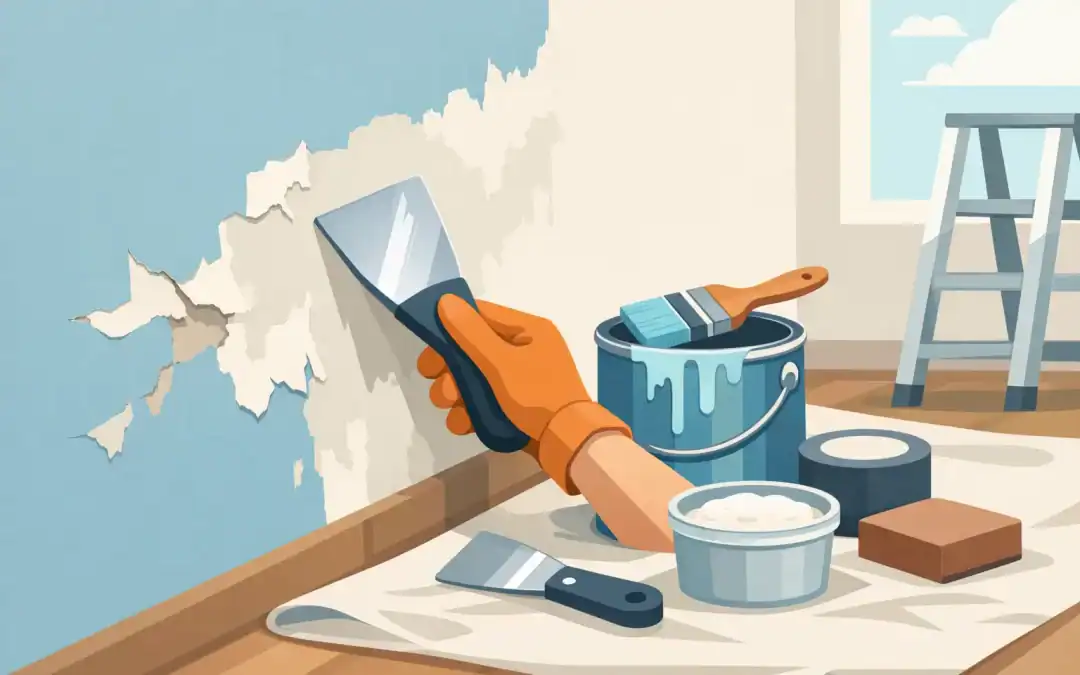
Paint that comes off in curls, chips, or sheets is rarely just a cosmetic problem. To repair peeling paint properly, you need to address what caused the finish to fail before applying a fresh coat. Otherwise, new paint may look good for a season, then begin lifting right along with the old layer.
For Pittsburgh-area homes, peeling paint often shows up on trim, porch ceilings, windows, wood siding, decks, bathrooms, and older plaster walls. Western Pennsylvania weather puts exterior surfaces through wet springs, humid summers, freezing winters, and repeated temperature swings. Older homes can also have many layers of paint, hidden moisture concerns, and surfaces that were not prepared correctly during an earlier repaint.
Why Paint Starts Peeling
Paint needs a clean, dry, stable surface to bond. When one of those conditions is missing, the paint film loses its grip. The visible peeling is the symptom. Finding the underlying problem is the real repair.
Moisture is one of the most common causes. A leaking gutter, failed caulk joint, roof issue, poor ventilation, plumbing leak, or damp basement wall can push moisture behind the paint. On exterior wood, water can enter through exposed end grain, cracked glazing around windows, or joints that were never sealed. On interior walls, bathrooms and kitchens often peel because steam has nowhere to escape.
Poor surface preparation is another frequent cause. Paint applied over dirt, chalky old paint, glossy surfaces, mildew, loose material, or wet wood cannot form a dependable bond. Skipping primer can create the same problem, especially when bare wood, patched drywall, stained areas, or major color changes are involved.
Sometimes the failure is between old coats rather than between paint and the wall. This can happen when a latex paint is applied over an incompatible or poorly prepared coating, or when a previous painter coated a surface before it had time to dry or cure. The location and pattern of peeling help tell the story. Paint lifting to bare wood usually points to a surface or moisture issue, while peeling between layers can suggest an adhesion problem.
Inspect Before You Repair Peeling Paint
Start by looking beyond the damaged spot. If paint is peeling below a window, inspect the window trim, caulking, gutters, and siding above it. If a bathroom ceiling is peeling, check whether the exhaust fan vents outside and whether it is used long enough after showers. A wall that keeps peeling near a radiator, pipe, or exterior corner may have condensation or a hidden leak.
Press gently around the damaged area with a scraper or putty knife. Sound paint should stay firmly attached. If the surrounding paint releases easily, the repair area needs to expand until you reach a solid edge. Painting over a weak perimeter only traps the failure under a new finish.
Exterior surfaces should also be checked for soft wood, rot, mildew, and loose caulk. Paint cannot restore decayed trim or seal an active water problem. Damaged wood may need repair or replacement before a professional paint job can last.
Treat Older Paint Carefully
Many Pittsburgh homes were built long before modern paint standards. If the home was built before 1978, assume old paint may contain lead until testing proves otherwise. Dry sanding, aggressive scraping, and power washing can create hazardous dust or debris.
For small areas, use appropriate containment, protective equipment, and lead-safe work practices. For extensive peeling, particularly on windows, doors, porches, trim, or Victorian details, professional help is the safer choice. Careful preparation protects both the property and the people living in it.
The Right Process for a Lasting Repair
Once the source of the problem is corrected, the actual repair follows a straightforward sequence. The work is not complicated in theory, but the details matter. Rushing prep is the fastest way to repeat the job.
Remove Loose and Failing Paint
Scrape away all paint that is cracked, bubbled, lifting, or poorly bonded. A sharp scraper is useful for broad flat areas, while a putty knife can work around smaller edges and trim profiles. Stop only when the remaining paint is firmly attached.
Feather the edges where bare areas meet intact paint. Light sanding smooths the transition so the repaired section does not show as a hard ridge after painting. Avoid sanding more than necessary, particularly on an older home where lead may be present.
For exterior surfaces, washing is often necessary to remove dirt, mildew, chalking, and residue. Pressure washing can be effective when done correctly, but too much pressure can damage wood siding, force water behind trim, and create a new moisture issue. The surface must dry fully before any primer or paint is applied.
Repair the Surface, Not Just the Paint
Fill shallow dents, nail holes, and minor cracks with a quality filler suited to the surface. Larger exterior checks or gaps may need a flexible exterior-grade patching compound. Replace rotted wood rather than trying to hide it under filler and paint.
Caulk joints where trim meets siding, around windows and doors, and at other appropriate gaps after the surface is clean and dry. Do not caulk areas designed to drain water, such as weep holes or certain siding laps. The goal is to keep water out while allowing the building materials to function as intended.
Indoors, repair loose drywall tape, water-stained drywall, or damaged plaster before painting. If staining came from a past leak, make sure the leak is truly fixed and the area is dry. A stain-blocking primer can help prevent discoloration from bleeding through the finish coat.
Prime Bare Areas With the Correct Product
Primer is what ties the repair together. Bare wood needs an exterior primer that seals the wood and supports the topcoat. Chalky masonry, patched drywall, stained areas, and glossy trim may each require a different type of primer.
This is where product selection depends on the surface and the cause of failure. An oil-based or shellac-based stain-blocking primer can be appropriate for stubborn water, smoke, or tannin stains. A bonding primer may be needed for difficult glossy surfaces. On exterior wood, a high-quality exterior primer helps protect exposed areas from moisture while giving finish paint a consistent surface to grip.
Prime all bare spots and repaired areas, then allow the primer to dry according to its label. If the peeling was widespread, a full prime coat may be the better investment. Spot priming saves time on small repairs, but it can leave an uneven appearance or uneven absorption on large patched sections.
Apply Paint in the Right Conditions
Use paint designed for the location. Exterior paint needs flexibility and weather resistance. Bathroom and kitchen walls benefit from durable finishes that hold up to moisture and cleaning. Trim often needs a tougher coating than walls, while decks and porches require products built for foot traffic and seasonal movement.
Apply enough paint for proper coverage, usually two finish coats over repaired or primed areas. Follow temperature, humidity, and drying recommendations. Exterior painting during a damp stretch, just before rain, or when overnight temperatures drop too low can compromise adhesion. On interior jobs, high humidity from cooking, showers, or poor air circulation can slow drying and affect the result.
When a Small Repair Becomes a Larger Project
A few chips on a window sill may be a simple repair. Widespread peeling across siding, porch trim, ceilings, or multiple rooms deserves a closer look. The same is true when paint keeps failing in the same location after touch-ups.
Call a professional painter when the cause may involve water intrusion, rot, extensive surface failure, difficult access, detailed historic trim, or possible lead paint. Large homes and older Victorian properties often require a methodical approach because each exterior detail can collect water differently. Proper scraping, sanding, priming, caulking, and coating take time, but those steps are what protect the character and value of the home.
Commercial properties also benefit from identifying the cause before repainting. Peeling paint around entrances, windows, metal railings, masonry, or restrooms can affect appearance and may signal maintenance issues that need coordination before the painting begins.
Protect the Repair After the Paint Dries
Fresh paint lasts longer when the surfaces around it are maintained. Keep gutters clear, repair leaking flashing, monitor caulk joints, and trim back shrubs that hold moisture against siding. Run bathroom exhaust fans during showers and for a while afterward. On decks and porches, keep leaves and standing water from sitting against painted or stained wood.
A careful repair should not feel like a temporary patch. It should leave the surface clean, sound, and ready to handle Pittsburgh weather. If peeling has spread or the cause is unclear, The Pittsburgh Painting Company can provide a free estimate and a professional plan for getting the surface back in shape.
Recent Comments