
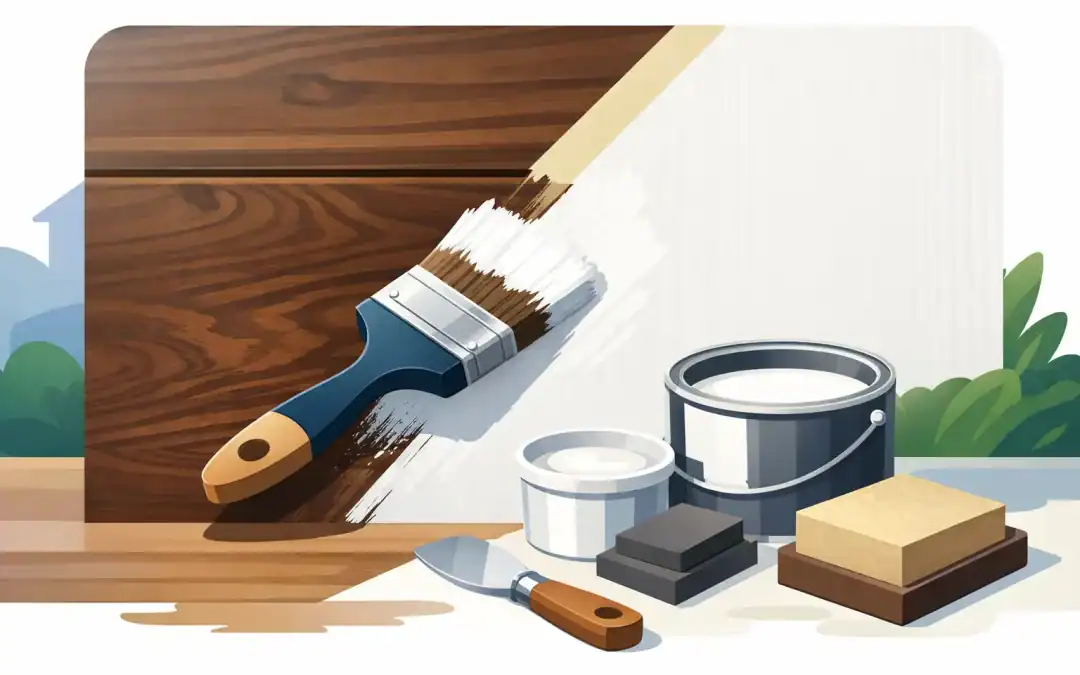
A dark-stained mantel, dated oak cabinets, or glossy Victorian trim can make an otherwise fresh room feel heavier than it needs to. Can you paint over stained wood? Yes, but the quality of the result depends far more on preparation and primer than on the finish coat itself. Skip those steps, and stains can bleed through, paint can peel, and the surface may look rough long before it should.
For homeowners across Pittsburgh and Western Pennsylvania, painting stained wood is often a practical way to brighten older interiors while preserving the solid materials already in place. The right process can turn worn trim, paneling, doors, cabinets, and furniture into a clean, durable painted surface.
Can You Paint Over Stained Wood Without Sanding?
Sometimes, but it depends on the condition of the finish. A stained wood surface is usually protected by varnish, polyurethane, shellac, lacquer, or another clear topcoat. Those coatings are designed to resist moisture and wear, which also means they can resist new paint.
If the existing finish is in sound condition and you use a quality bonding primer, you may not need to sand all the way down to bare wood. You do, however, need to dull the shine and create enough surface profile for the primer to grip. A light scuff sanding is usually the reliable choice.
Painting directly over glossy stained wood without cleaning, sanding, or priming is where many projects fail. The paint may appear fine for a few weeks, then chip around cabinet handles, door edges, window sills, or other high-contact areas.
There is one exception worth understanding. If the stained surface is bare wood with no clear coating, paint can absorb unevenly and may still need primer. Bare wood is not automatically easier to paint. It can contain tannins, knots, and porous areas that affect the final color and sheen.
Start by Identifying the Surface Condition
Before choosing paint, inspect the wood closely. Look for peeling clear coat, grease, wax buildup, water damage, deep scratches, smoke residue, or dark stains that may show through paint. Kitchens, stair railings, and older woodwork often need more cleaning than homeowners expect.
Run a hand across the surface. If it feels slick and glassy, it needs scuff sanding. If the coating flakes when scraped lightly, loose material must be removed before priming. If the wood feels oily or has been treated with furniture polish, a stronger cleaning step is necessary.
Older homes deserve extra care. In many Pittsburgh-area properties, original trim and doors have multiple coats of old finish, and sometimes several layers of paint beneath it. If you suspect lead-based paint on a pre-1978 surface, use proper testing and lead-safe work practices before sanding or scraping. This is not a step to rush.
The Preparation That Makes Paint Last
A professional paint job starts with a clean, stable surface. Preparation can take longer than painting, especially on cabinets, detailed trim, or heavily used doors, but it is what protects the finished result.
First, clean the wood thoroughly. A degreasing cleaner is especially useful on kitchen cabinets, railings, and woodwork near fireplaces. Remove dirt, hand oils, polish residue, and cooking grease, then allow the surface to dry completely. Paint cannot bond well through contaminants.
Next, repair what paint cannot hide. Fill nail holes, small dents, and open grain where needed with an appropriate wood filler. Scrape loose coating, feather rough edges, and caulk gaps at trim joints if the project calls for it. Caulk is useful for narrow cracks between trim and walls, but it should not be used to fill large damaged areas of wood.
Then scuff sand the surface. The goal is not always to remove the stain. The goal is to remove the shine and give primer something to hold onto. Use a fine- to medium-grit abrasive, work with the grain where practical, and avoid digging into decorative profiles. After sanding, remove all dust with a vacuum and a clean, lint-free cloth.
For detailed millwork, raised-panel doors, and ornate Victorian trim, preparation requires patience. Missed grooves and glossy corners are common places for paint failure. This is one reason homeowners often choose a professional crew for restoration-sensitive work.
Use the Right Primer for Stained Wood
Primer is not an optional extra when painting stained wood. It is the layer that helps paint bond to the old finish and blocks discoloration from coming back through the new color.
A stain-blocking bonding primer is usually the best choice. Shellac-based and oil-based primers are especially effective when the wood contains tannins or when the existing stain is dark red, mahogany, cherry, cedar, or oak. They are also useful for knotty pine, water marks, smoke stains, and other stubborn discoloration.
Water-based bonding primers can work very well on clean, properly sanded surfaces, particularly when odor and dry time are priorities. However, they may not stop serious tannin bleed-through as reliably as shellac- or oil-based products. The trade-off is simple: easier cleanup versus stronger stain blocking.
For cabinets, doors, and trim, a quality primer should be applied evenly and allowed to dry according to product directions. If dark staining appears after the first coat dries, apply another coat of stain-blocking primer before painting. Do not assume finish paint will cover the problem. Once tannins migrate through a paint film, they can leave yellow or brown marks that are difficult to correct.
Choose Paint Based on How the Wood Will Be Used
After primer has cured, choose the finish paint for the surface, not just the color. Walls with stained paneling may take a durable interior wall paint, while trim, doors, cabinets, and railings need a tougher coating that can handle repeated cleaning and contact.
For trim and doors, satin or semi-gloss finishes are common because they are washable and provide a crisp appearance. Satin is a good middle ground for homeowners who want durability without highlighting every imperfection. Semi-gloss offers more shine and is often a practical choice for baseboards, window trim, and frequently handled doors.
Cabinets need special consideration. They should be removed or carefully masked where possible, cleaned thoroughly, primed with a bonding primer, and coated with a cabinet-grade finish. Ordinary wall paint is not built for cabinet doors that are opened, wiped, and bumped every day.
Apply thin, even coats rather than one heavy coat. Heavy paint can sag, settle into profiles, and leave brush marks. Two finish coats are generally needed for consistent color, coverage, and long-term protection. Allow the recommended dry time between coats, and remember that dry to the touch is not the same as fully cured.
When Painting Stained Wood Is Not the Best Choice
Painting is a strong option when the existing stain is damaged, outdated, uneven, or simply too dark for the room. It can also be an efficient way to unify mismatched woodwork after a renovation.
But not every stained surface should be painted. Original woodwork with exceptional grain, historic value, or a finish that is still in excellent shape may be better restored, clear coated, or refinished. Once detailed wood trim is painted, returning it to a natural stained appearance can require extensive stripping and sanding.
Exterior stained wood also needs a different approach. Decks, siding, fences, and porch components face rain, sun, freeze-thaw cycles, and moisture movement. A coating system that works beautifully on interior trim may fail quickly outdoors. Exterior surfaces need proper cleaning, moisture evaluation, repairs, and products designed for the local climate.
Common Problems and How to Avoid Them
Bleed-through is the most frustrating issue because it can appear after the project seems complete. Prevent it by using a true stain-blocking primer, especially over oak, cherry, cedar, knots, or dark stains. If discoloration appears, spot prime or re-prime before adding more finish paint.
Peeling usually points to poor adhesion. It happens when glossy surfaces were not scuff sanded, grease was left behind, or paint was applied over an unstable clear coat. Proper cleaning and bonding primer are far less costly than repainting failed areas later.
Visible grain is another concern. Paint will change the color of wood, but it does not automatically create a perfectly smooth, furniture-like surface. Oak in particular has open grain. If a smooth cabinet finish is the goal, grain filling and additional sanding may be necessary. That adds labor, but it can make a noticeable difference.
Painting over stained wood can be a practical update or a detail-sensitive restoration project. The deciding factor is not whether the wood is stained. It is whether the surface is properly cleaned, repaired, primed, and finished for the job it has to do. When the woodwork matters to the character of your home, careful preparation is what turns a color change into a lasting improvement.
Recent Comments