
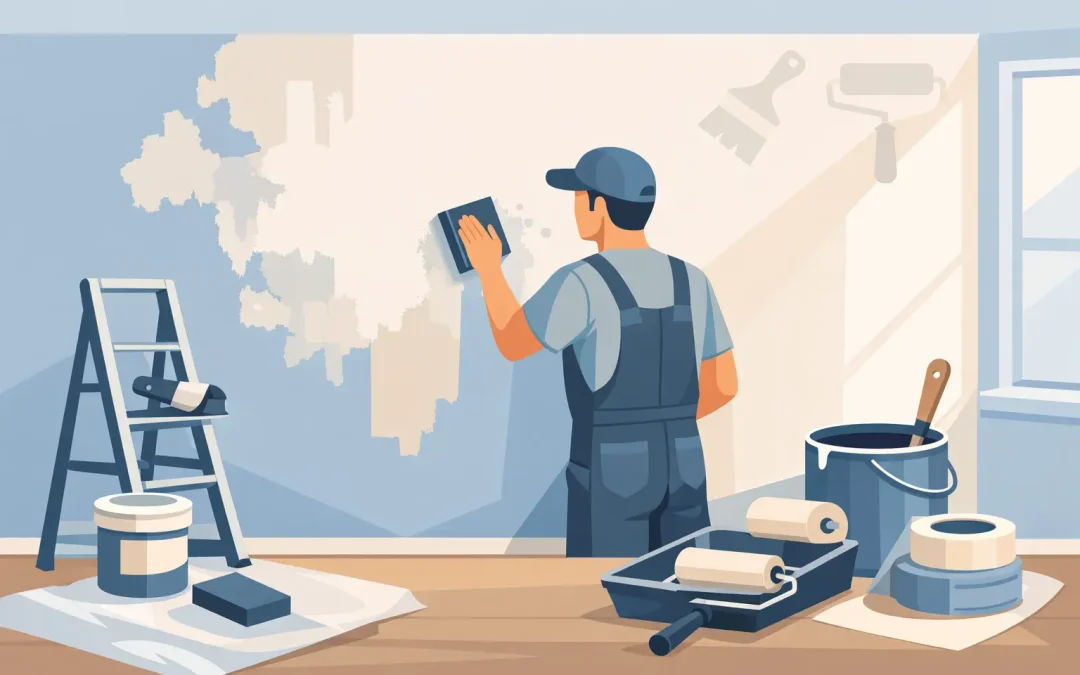
A fresh coat of paint can change a room quickly, but paint will not hide a dirty wall, a loose patch, or a line of peeling old paint. Knowing how to prepare walls for painting is what separates a finish that looks clean for years from one that shows flaws as soon as the light hits it.
At Pittsburgh Painting Company, preparation is not treated as an extra step. It is the work that gives the paint a sound surface to hold onto. Whether you are refreshing one bedroom or restoring rooms in an older Pittsburgh home, taking the time to inspect, clean, repair, sand, and prime the walls will make the final result look more professional.
Start by Clearing and Inspecting the Room
Move furniture away from the walls or to the center of the room, then cover it with clean drop cloths. Remove wall art, outlet covers, switch plates, vents, curtain hardware, and anything else that will interrupt a clean paint line. Protect floors with canvas drop cloths or rosin paper. Plastic can be useful over furniture, but it can become slippery underfoot and is not the best choice for walking surfaces.
With the room cleared, inspect each wall in good light. Look from more than one angle. Side lighting from a lamp or work light often reveals dents, ridges, nail pops, roller marks, and old patch repairs that disappear in normal overhead light. Mark imperfections lightly with painter’s tape or a pencil so they are easy to find once repairs begin.
Older homes deserve an especially close inspection. Plaster walls can develop hairline cracks, loose areas, and uneven repairs over time. Drywall may show popped fasteners, seams, and impact damage. Paint will draw attention to these issues, particularly with darker colors or paints with a higher sheen.
Clean Walls Before Any Repairs or Paint
Even walls that look clean collect dust, cooking residue, fingerprints, smoke film, and household oils. Paint applied over contamination may not bond evenly, and the finish can develop adhesion problems later.
For most interior walls, a mild cleaner and warm water are enough. Use a sponge or soft cloth, working from the bottom upward to reduce streaking, then rinse with clean water as needed. Kitchens, bathrooms, laundry rooms, and areas near fireplaces may need a stronger degreasing cleaner. Avoid soaking the wall. The goal is to remove residue, not introduce excess moisture into drywall or plaster.
Let the walls dry completely before filling or priming. A wall that feels dry on the surface may still hold moisture around repairs, especially during a humid Western Pennsylvania summer. Good ventilation and adequate drying time prevent trouble later.
Watch for Stains, Mildew, and Smoke Damage
Water stains, nicotine discoloration, crayon marks, and mildew need more than a standard coat of paint. First, correct the source of any active leak or moisture problem. Painting over a water stain without addressing the cause only delays the repair.
Mildew should be cleaned with an appropriate mildew-removal solution, following the product directions and using proper ventilation. Once the area is clean and dry, a stain-blocking primer is usually needed before topcoat. Smoke and water stains can bleed through ordinary paint, even after several coats, so primer selection matters.
Repair Holes, Cracks, and Loose Surfaces
Small nail holes and shallow dents can usually be filled with lightweight spackling compound. Press the material into the hole with a putty knife, remove the excess, and allow it to dry fully. Larger dents, damaged corners, and deeper holes often require joint compound in thin layers. Trying to fill a deep repair all at once can lead to shrinking, cracking, or a patch that sits proud of the wall.
For drywall cracks, check whether the crack is simply in the surface coating or whether it follows a seam. A recurring seam crack may need drywall tape and joint compound rather than a quick layer of spackle. Nail pops should be secured correctly before patching. If the drywall has moved away from the framing, adding a drywall screw near the pop may be necessary.
Plaster requires a different approach. Fine cracks can often be repaired with a flexible patching material, while loose or damaged plaster may require stabilization and more extensive repair. In historic homes and Victorian restorations, preserving original wall character while creating a paint-ready surface takes experience. A rushed patch can look obvious under a fresh coat of paint.
Do not overlook peeling paint. Scrape away every loose edge until only firmly bonded paint remains. If the peeling is widespread, the issue may be moisture, failed previous coatings, or an incompatible paint layer. That is a situation worth evaluating before moving forward, because new paint cannot solve a failing surface underneath it.
Sand for a Smooth, Paint-Ready Surface
Sanding is where repaired walls begin to blend back into the surrounding surface. Once patching compound is dry, sand it smooth with fine-grit sandpaper or a sanding sponge. Feather the edges beyond the repair so there is no raised ring around the patch.
You do not need to sand every painted wall down to bare material. For walls in good condition, light scuff sanding is usually enough to dull glossy areas and improve adhesion. Focus on trim edges, patched spots, drips, old roller ridges, and any shiny paint. Semi-gloss or gloss surfaces need more attention than flat paint because paint does not bond as well to a slick finish.
Use a vacuum with a brush attachment after sanding, then wipe the walls with a lightly damp microfiber cloth. Dust left on the surface can create a gritty finish and weaken adhesion. This cleanup step is simple, but it is often missed in do-it-yourself projects.
If your home was built before 1978, use caution around old paint. Disturbing lead-based paint without proper containment can create a health hazard. Professional assessment and lead-safe work practices may be needed before scraping or sanding older coatings.
Prime Where It Makes a Difference
Primer is not always required for every repaint, but it is essential in certain conditions. Bare drywall, fresh joint compound, repaired plaster, stained areas, patched spots, and drastic color changes all benefit from priming. It creates a more uniform surface so the finish coat absorbs evenly and holds its intended color.
Spot priming small repairs can work when the existing wall color and sheen are similar to the new finish. For major repairs, bare walls, or a significant change from dark to light paint, priming the full wall usually produces a more consistent result. A tinted primer can also help when covering a deep or saturated color.
Choose primer based on the problem, not just the paint aisle label. Stain-blocking primer is designed for smoke, water marks, and tannin bleed. Bonding primer helps with slick or difficult surfaces. Drywall primer helps seal new drywall and joint compound. The right product saves coats of finish paint and helps prevent surprises after the job is complete.
Protect Edges and Plan the Paint Job
Once the walls are clean, repaired, sanded, and primed, take a few minutes to prepare the work area for painting. Apply painter’s tape carefully along trim, ceilings, windows, and other surfaces that need protection. Press the tape edge down firmly, but do not leave it on for days in direct sunlight or humid conditions, where it may become difficult to remove cleanly.
Caulk small gaps between trim and walls if needed, using paintable caulk. This is especially useful around baseboards, window casings, and door trim. Keep the bead small and smooth it immediately. Heavy caulk lines can look just as distracting as an unfilled gap.
Before opening the paint, confirm that the room temperature and humidity are within the paint manufacturer’s recommended range. Cold walls, high humidity, and poor airflow can slow drying and affect how the coating levels. In an older home, conditions can vary from room to room, particularly near exterior walls and drafty windows.
When Professional Wall Preparation Is the Better Choice
Many small wall-prep tasks are manageable for a homeowner. The job becomes more involved when walls have widespread cracking, water damage, major peeling, high ceilings, textured surfaces, plaster failure, or detailed architectural trim. Preparation also takes time, and it can create dust and disruption when it is not handled with the right equipment and containment.
A professional painting crew can evaluate the substrate, identify the cause of paint failure, complete repairs correctly, and protect the rest of the home while the work is underway. This is particularly valuable for large homes, occupied commercial spaces, and older Pittsburgh properties where one visible flaw can affect the appearance of an entire room.
Good painting starts long before the first brushstroke. Give the walls the attention they need, and the color you choose will have the clean, even finish it deserves.
Recent Comments