
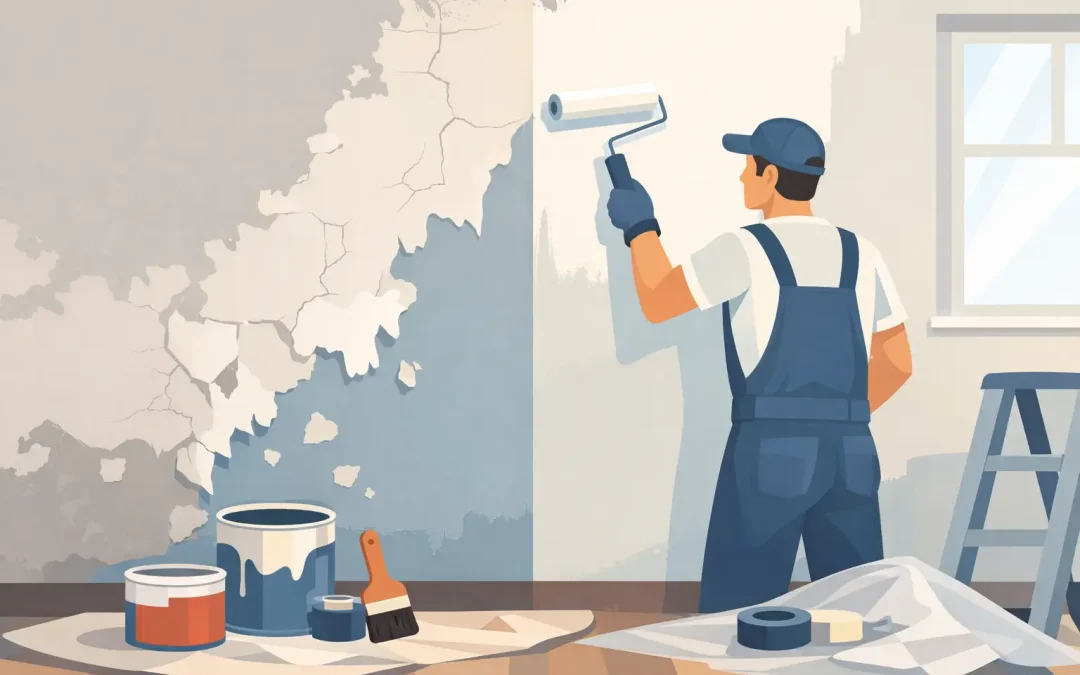
Old plaster has a character that drywall cannot imitate, especially in Pittsburgh’s Victorian homes and long-loved brick houses. But painting old plaster walls is rarely as simple as opening a can and rolling on a new color. Hairline cracks, loose sections, old patchwork, stains, and layers of previous paint can all show through or cause a fresh finish to fail if the surface is not prepared correctly.
A professional paint job starts by treating the wall as a surface that needs evaluation, not just color. The right repairs, primer, paint, and application method can preserve the look of old plaster while giving the room a clean, durable finish.
Why Old Plaster Needs More Preparation
Traditional plaster walls are built in layers over wood or metal lath. They are hard and durable, but they move differently than modern drywall. Seasonal changes, settling, humidity, and past repairs can leave behind cracks or areas where the plaster has begun to separate from the lath beneath it.
Not every crack means a major structural problem. Fine, stable cracks are common in older homes and can often be repaired as part of normal surface preparation. Wider cracks, recurring cracks, or plaster that sounds hollow when lightly tapped may indicate movement or separation that needs more attention before painting begins.
Pittsburgh homes also commonly have a long history of repainting. A wall may have glossy paint in one area, flat paint in another, and several old patches that absorb paint differently. If those differences are not corrected, the new color can dry unevenly and make the repairs more noticeable than they were before.
Inspect Before Painting Old Plaster Walls
A close inspection saves time, paint, and frustration. Look across the wall in natural light as well as with a work light held at an angle. Side lighting reveals ridges, dents, uneven patches, and old roller marks that may disappear under normal room lighting but become obvious after a fresh coat.
Pay special attention to cracks around doors, windows, and ceiling lines. These are areas where normal movement often appears first. Check for staining from old roof leaks, plumbing leaks, or chimney moisture. Painting over an active moisture problem only hides it temporarily, and the stain or peeling may return.
If the home was built before 1978, existing paint may contain lead. Disturbing old paint through sanding or scraping requires appropriate precautions. A qualified painting contractor can assess the condition of the surface and use safe work practices to limit dust and protect the home.
Repairing Cracks, Holes, and Loose Areas
The repair method should match the condition of the plaster. Small nail holes and shallow imperfections can be filled with a quality patching compound, then sanded smooth once dry. Fine cracks often need to be opened slightly into a shallow V shape before filling. This gives the repair material a solid place to bond rather than leaving it sitting on the surface of a narrow crack.
For longer or more active cracks, reinforcing tape or mesh may be needed. A repair compound is applied in thin, feathered coats so the finished area blends into the surrounding wall. Rushing this stage creates raised patches that remain visible even after two coats of paint.
Loose or damaged plaster is different from a simple surface crack. Sections that have pulled away from the lath may need to be stabilized, reattached, or removed and rebuilt. This is particularly common in older ceilings and around areas that have experienced water damage. The goal is not to cover a weak area with paint, but to create a sound surface that will hold up over time.
After repairs are dry, sanding should leave the wall smooth without creating sharp edges around the patch. Dust must then be removed thoroughly. Paint cannot bond properly to a powdery wall, and leftover sanding dust can leave a gritty finish.
Clean and Prime for an Even Finish
Old walls often carry more than visible dirt. Kitchens may have grease residue, smoking areas may have nicotine staining, and fireplaces can leave soot on nearby plaster. Even a wall that looks clean can have surface contamination that affects adhesion.
A gentle cleaning solution and clean water are often enough for general soil. Greasy areas may need a stronger degreasing wash. Let the walls dry completely before moving to primer. If there is mildew, the moisture source should be corrected first, then the affected area should be properly cleaned and treated.
Primer is where many old-plaster painting jobs succeed or fail. A drywall primer is not always the right choice. Bare plaster repairs and porous patches can absorb paint at a different rate than the surrounding wall, creating dull spots called flashing. A high-quality primer helps equalize the surface so the finish coat dries consistently.
Stains from water, smoke, tannins, or unknown old repairs may require a stain-blocking primer. Glossy or poorly bonded existing paint may need sanding, cleaning, and a bonding primer. The best primer depends on the wall’s condition, which is why a one-size-fits-all approach can lead to peeling or uneven coverage.
Choose Paint That Suits the Room
For most plaster walls, quality acrylic latex paint provides reliable adhesion, low odor, and a finish that is easier to maintain. The sheen should fit the room and the condition of the walls.
Flat and matte paints do the best job of hiding minor texture and small surface irregularities. They are a practical choice for bedrooms, dining rooms, and living spaces where the walls are not subjected to heavy cleaning. Eggshell gives a soft, washable finish and works well in many main living areas. Satin is more durable for hallways, kitchens, baths, and family spaces, but its subtle shine can make imperfect repairs easier to see.
Higher-sheen finishes are not automatically better. Semi-gloss paint is durable, but it reflects light strongly and can highlight every uneven patch on an old wall. In a room with aged plaster, a lower sheen often creates the more polished result.
Color also changes how plaster walls read. Deep colors can look rich and dramatic, but they show repair work and roller overlap more readily than lighter or mid-tone colors. That does not mean darker shades should be avoided. It means the prep work and application need to be especially careful.
Apply Paint With Consistent Technique
Once primer is fully dry, cut in cleanly around trim, ceilings, windows, and fixtures. Large wall areas should be rolled in manageable sections while maintaining a wet edge. This helps prevent lap marks, which happen when fresh paint overlaps an area that has already started to dry.
Use a roller cover suited to the texture of the wall. A smoother plaster surface usually benefits from a shorter nap, while a lightly textured surface may need a slightly thicker cover to reach into small depressions. Pressing too hard with the roller does not improve coverage. It can leave ridges, create uneven texture, and pull paint away from weak areas.
Two finish coats are generally the best path to consistent color and protection, especially over repairs or a significant color change. Allow proper drying time between coats. Humid Western Pennsylvania weather, cool rooms, and limited ventilation can extend drying time, so the schedule should follow actual conditions rather than the clock alone.
When Professional Help Makes Sense
Some plaster walls need more than careful painting. If cracks keep returning, large areas sound hollow, stains point to an unresolved leak, or the walls have extensive old damage, professional evaluation is worthwhile. Large homes and historic properties often have details that require a more deliberate approach, from ornate trim to high ceilings and delicate original surfaces.
The Pittsburgh Painting Company approaches older-wall projects with the preparation they deserve, including surface repairs, proper priming, clean application, and complete cleanup. That attention to detail is what helps a new finish look like it belongs in the home rather than simply sitting on top of old problems.
A freshly painted plaster wall should still feel like part of an older home – solid, graceful, and full of character – just cleaner, brighter, and ready for the years ahead.
Recent Comments