
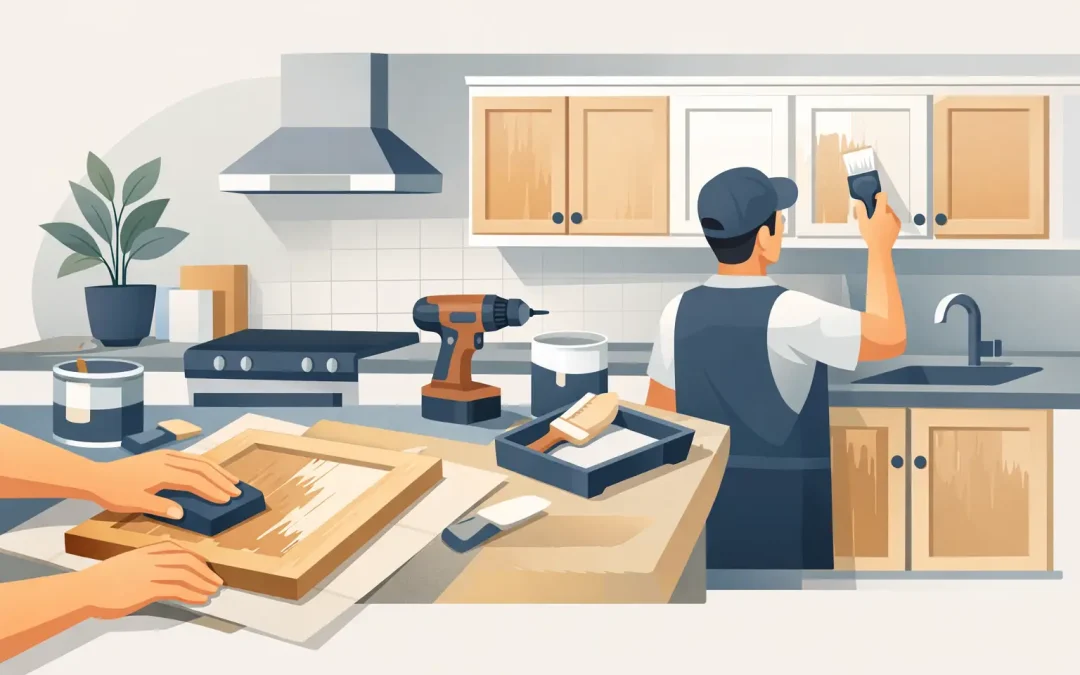
A kitchen can feel dated long before its cabinets stop functioning. If the boxes are solid, the doors close properly, and the layout still works for your family, learning how to refinish kitchen cabinets may save you the expense and disruption of a full replacement. The difference between a finish that looks refreshed for years and one that chips near every handle usually comes down to preparation.
Cabinet refinishing is a detailed project, especially in older Pittsburgh-area homes where layers of past paint, grease, and humidity can complicate the work. It is not simply a matter of applying a new color. A durable result requires cleaning, repairs, sanding, the right primer, and a finish suited to cabinets that are opened, wiped, and bumped every day.
Decide Whether Your Cabinets Are Good Candidates
Refinishing works best when cabinet boxes and doors are structurally sound. Solid wood, wood veneer in good condition, and previously painted cabinets can often be renewed successfully. Surface scratches, worn clear coats, minor dents, and an outdated stain color are all problems refinishing can address.
Take a closer look before buying materials. Swollen particleboard, major water damage under the sink, loose cabinet frames, peeling veneer, or doors that are badly warped may call for repairs or replacement instead. Refinishing can improve appearance, but it cannot correct a cabinet that is failing from the inside out.
Your desired look also matters. Painting is usually the most practical route for dated oak, mixed wood species, or cabinets with heavy discoloration. If you want to keep a natural wood appearance, staining may be possible, but removing an existing clear coat and achieving an even color requires more sanding and more patience. A dark stain cannot reliably be made light without stripping or sanding down to bare wood.
How to Refinish Kitchen Cabinets Step by Step
Set aside more time than you expect. Most homeowners can complete a small kitchen over several days, but dry times and careful prep should set the pace. Rushing the process is one of the most common reasons a new finish fails early.
Remove Doors, Drawers, and Hardware
Start by emptying the cabinets and protecting countertops, floors, appliances, and nearby walls. Remove doors, drawer fronts, hinges, knobs, pulls, and any removable hardware. Label each door and its hardware with painter’s tape so every piece returns to the same opening. This prevents alignment headaches later.
Doors and drawer fronts are easier to refinish on a stable work surface than while hanging. Create a clean, ventilated work area away from dust, pets, and foot traffic. For cabinet boxes that remain in place, carefully mask the inside edges, walls, and backsplash.
Clean Off Grease and Residue
Kitchen cabinets collect more than ordinary household dust. Cooking oils, hand lotion, smoke residue, and cleaning-product buildup can interfere with primer and paint adhesion. Wash every surface with a degreasing cleaner appropriate for the cabinet material, paying close attention to areas around handles, stove-side cabinets, and upper doors near the range.
Use clean water or the product’s recommended method to remove residue after cleaning, then allow the surfaces to dry fully. Sanding over grease can push contaminants into the surface rather than remove them. This step is not glamorous, but it is essential.
Repair Damage Before Sanding
Fill small nail holes, dents, and shallow gouges with a quality wood filler. Repair loose hinges, tighten cabinet boxes, and address cracked trim before any coating goes on. If veneer is lifting, it should be reglued and clamped correctly or evaluated for replacement.
Once filler dries, sand it level. Run your hand over the repair rather than relying only on what you can see. Cabinet paint tends to highlight uneven patches, particularly under overhead kitchen lighting.
Sand for Adhesion, Not Just Appearance
For most painted cabinet projects, the goal is to dull the existing sheen and create a clean surface for the primer to grip. You generally do not need to strip every cabinet to bare wood. Use a fine- to medium-grit sanding approach appropriate for the existing finish, and take care around routed door profiles and veneer edges.
A sanding sponge helps on contours, while a quality sanding block or orbital sander can speed up flat areas. Avoid pressing too hard. Aggressive sanding can cut through thin veneer and leave difficult-to-hide damage. Vacuum dust thoroughly, then wipe surfaces with a clean, lint-free cloth before priming.
Use a Primer That Matches the Surface
Primer is the bridge between the old cabinet surface and the new finish. It helps block stains, improves adhesion, and creates a consistent base color. Cabinets with tannin-rich woods, dark stains, smoke exposure, or stubborn discoloration may need a stain-blocking primer. Slick factory finishes may require a bonding primer.
Follow the primer manufacturer’s dry-time directions. If the surface feels rough after it dries, lightly sand it smooth and remove the dust before painting. Skipping this small sanding step can leave a grainy finish that will show on cabinet doors every day.
Apply Cabinet-Grade Paint or Clear Finish
Cabinets need a harder-wearing coating than standard wall paint. Choose a cabinet-grade product designed to resist scuffs, moisture, and repeated cleaning. The best sheen depends on the look you want, but satin and semi-gloss are common choices because they are easier to clean than flat finishes while not showing every small flaw as readily as high gloss.
Use high-quality brushes and small rollers suited to the coating, or use professional spray equipment if you have the right setup and experience. Brushing and rolling can produce a very good finish when applied in thin, even coats. Spraying can create a smoother, factory-like appearance, but it requires extensive masking, ventilation, and control of overspray.
Apply thin coats and let each coat dry as directed. A second coat is usually necessary for an even, durable color. Do not judge the final appearance too soon. Many coatings continue leveling and curing after they feel dry to the touch.
Protect the Finish While It Cures
Dry and cured are not the same thing. Doors may be ready to handle carefully within a day or two, but the coating can take much longer to reach full hardness. Reinstall doors and hardware gently, avoid slamming drawers, and do not scrub the cabinets with harsh cleaners during the curing period.
Once cured, clean painted cabinets with a soft cloth, mild soap, and water. Abrasive pads, strong degreasers, and repeated impact from hard hardware can wear down even a quality finish. Soft-close hardware and properly adjusted hinges are worthwhile upgrades because they reduce daily stress on the doors.
When Professional Cabinet Refinishing Makes Sense
A do-it-yourself project can work well for a small kitchen with simple doors and plenty of workspace. Professional refinishing is often the better choice when cabinets have detailed profiles, extensive wear, significant stain bleed-through, or a finish where smoothness matters. It is also a practical option when you want the work completed without turning the kitchen into a long-term work zone.
Professional painters bring the preparation standards, coating knowledge, and equipment that cabinet work demands. Proper masking, controlled sanding, careful spraying when appropriate, and thorough cleanup make a noticeable difference in a room where every surface is close at hand. The Pittsburgh Painting Company approaches cabinet refinishing as a complete finish project, not a quick color change.
Refinished cabinets can give a hardworking kitchen a clean, updated appearance without changing the room you already know how to use. Give the prep work the time it deserves, choose materials made for cabinets, and be honest about the condition of the surfaces before you begin. That is how a practical upgrade becomes a finish you will be proud to see every morning.
Recent Comments